
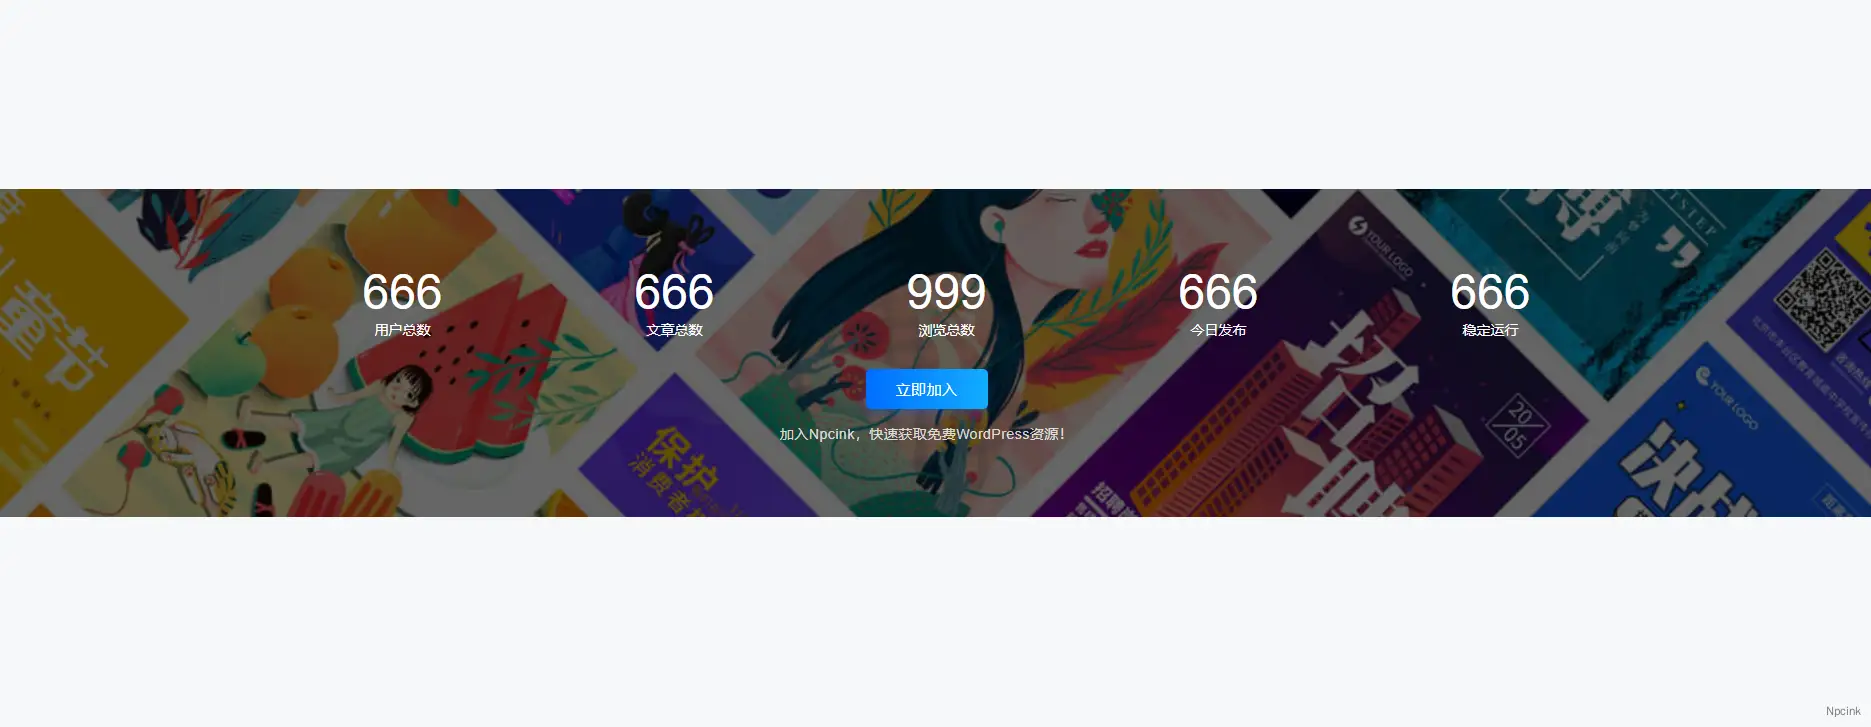
背景滚动图区块实用化教程
之前介绍的这款背景滚动图Wordpress区块只是徒有其表,纯静态展示的,但在实际运用中,需要他动态的来展示,该如何做到呢?
方案一
将功能函数写进functions.php中,把区块的内容放到合适的位置,例如index.php文件的底部,数据通过功能函数调用。

方案二
同样的,我们让后端提供功能函数,前台获取到后台提供的数据即可。可以这样操作。
我们在相关中添加功能代码,以提供相关函数,在前台添加静态的HTML代码,通过JS来调用PHP中的内容即可。
方法可参考这个

B2下部署
在B2主题的根目录的header.php底部添加以下代码:
<!--底部统计用的代码-->
<script type="text/javascript" >
<?php
//用户总数
$users = $wpdb->get_var("SELECT COUNT(ID) FROM $wpdb->users");echo "var jstext="."'$users'";
?>

</script>

<script type="text/javascript" >
<?php

/*
 * WordPress获取今日发布文章数量
 * 暖岛整理 www.nuandao.cn
 */
function nd_get_24h_post_count(){
	$today = getdate();
	$query = new WP_Query( 'year=' . $today["year"] . '&monthnum=' . $today["mon"] . '&day=' . $today["mday"]);
	$postsNumber = $query->found_posts;
	return $postsNumber;
}

$post_24h = nd_get_24h_post_count();
echo "var tj_24h="."'$post_24h'";

?>
</script>


<script type="text/javascript" >
<?php

/*
 * WordPress整站文章访问计数
 * 暖岛整理 www.nuandao.cn
 */
function nd_get_all_view(){
	global $wpdb;
	$count=0;
	$views= $wpdb->get_results("SELECT * FROM $wpdb->postmeta WHERE meta_key='views'");
	foreach($views as $key=>$value){
		$meta_value=$value->meta_value;
		if($meta_value!=' '){
			$count+=(int)$meta_value;
		}
	}return $count;
}

$post_view = nd_get_all_view();
echo "var tj_view="."'$post_view'";

?>
</script>


<script type="text/javascript" >
<?php

//日志总数
$count_posts = wp_count_posts();
$published_posts =$count_posts->publish;
echo "var tj_rzzs="."'$published_posts'";

?>

</script>


<script type="text/javascript" >
<?php

//稳定运行
$wdyx_time = floor((time()-strtotime("2020-3-21"))/86400);
echo "var tj_wdyx="."'$wdyx_time'";

?>

</script>
在B2主题的模块中,选择HTML模块,添加以下代码,背景图片需要自己在模块中配置。
  <div id="nuandao">

    <div class="siteCount">
      <div class="wrapper">
        <ul>
          <li>
            <span>
<script type="text/javascript" >
document.write(jstext);
</script>
</span>
            <b>用户总数</b>
          </li>
          <li>
            <span><script type="text/javascript" >

document.write(tj_rzzs);

</script></span>
            <b>文章总数</b>
          </li>
          <li>
            <span><script type="text/javascript" >

document.write(tj_view);

</script></span>
            <b>浏览总数</b>
          </li>
          <li>
            <span></span>
            <span>

<script type="text/javascript" >

document.write(tj_24h);

</script>

</span>
            <b>今日发布</b>
          </li>
          <li>
            <span><script type="text/javascript" >

document.write(tj_wdyx);

</script></span>
            <b>稳定运行</b>
          </li>
        </ul>
        <div class="join-vip">
          <a class="b2-radius" href="/vips" target="_blank">立即加入</a>
          <p>加入Npcink,快速获取优质资源!</p>
        </div>
      </div>
    </div>

  </div>
<style type="text/css">
#nuandao .siteCount {
  position: relative;
  padding: 60px 0;
}


/*内容*/
#nuandao .siteCount .wrapper {
  position: relative;
  z-index: 10;
}

#nuandao .siteCount ul {
  display: flex;
}

#nuandao .siteCount ul li {
  width: 20%;
  color: #fff;
  text-align: center;
}

/*模块*/
#nuandao .siteCount ul li span {
  font-size: 48px;
  font-family: Arial;
}

#nuandao .siteCount ul li b {
  display: block;
  font-weight: normal;
  font-size: 14px;
}

/*按钮*/
#nuandao .siteCount .join-vip {
  text-align: center;
  color: #fff;
  margin-top: 30px;
}

#nuandao .siteCount .join-vip a {
  display: inline-block;
  border: 0;
  border-radius: 5px;
  transition: all 0.3s;
  padding: 10px 30px;
  font-size: 15px;
  letter-spacing: 0.5px;
  background-color: #2e4e7e;

  box-shadow: 0 5px 10px 0 rgba(16, 110, 253, 0.3);
  color: #fff;
}

#nuandao .siteCount .join-vip p {
  margin-top: 15px;
  font-size: 14px;
  color: rgba(255, 255, 255, 0.8);
  letter-spacing: 0.5px;
  font-family: Arial;
}


.home_row_bg_img::after {
    content: '';
    z-index: 1;
    height: 100%;
    width: 100vw;
    background: rgba(0, 0, 0, 0.6);
    position: absolute;
    top: 0;
    left: 0;
}

 </style>
<script>
document.getElementById("nuandao").parentNode.parentNode.style.backgroundColor="transparent"
</script>
感谢评论区提供的JS代码。